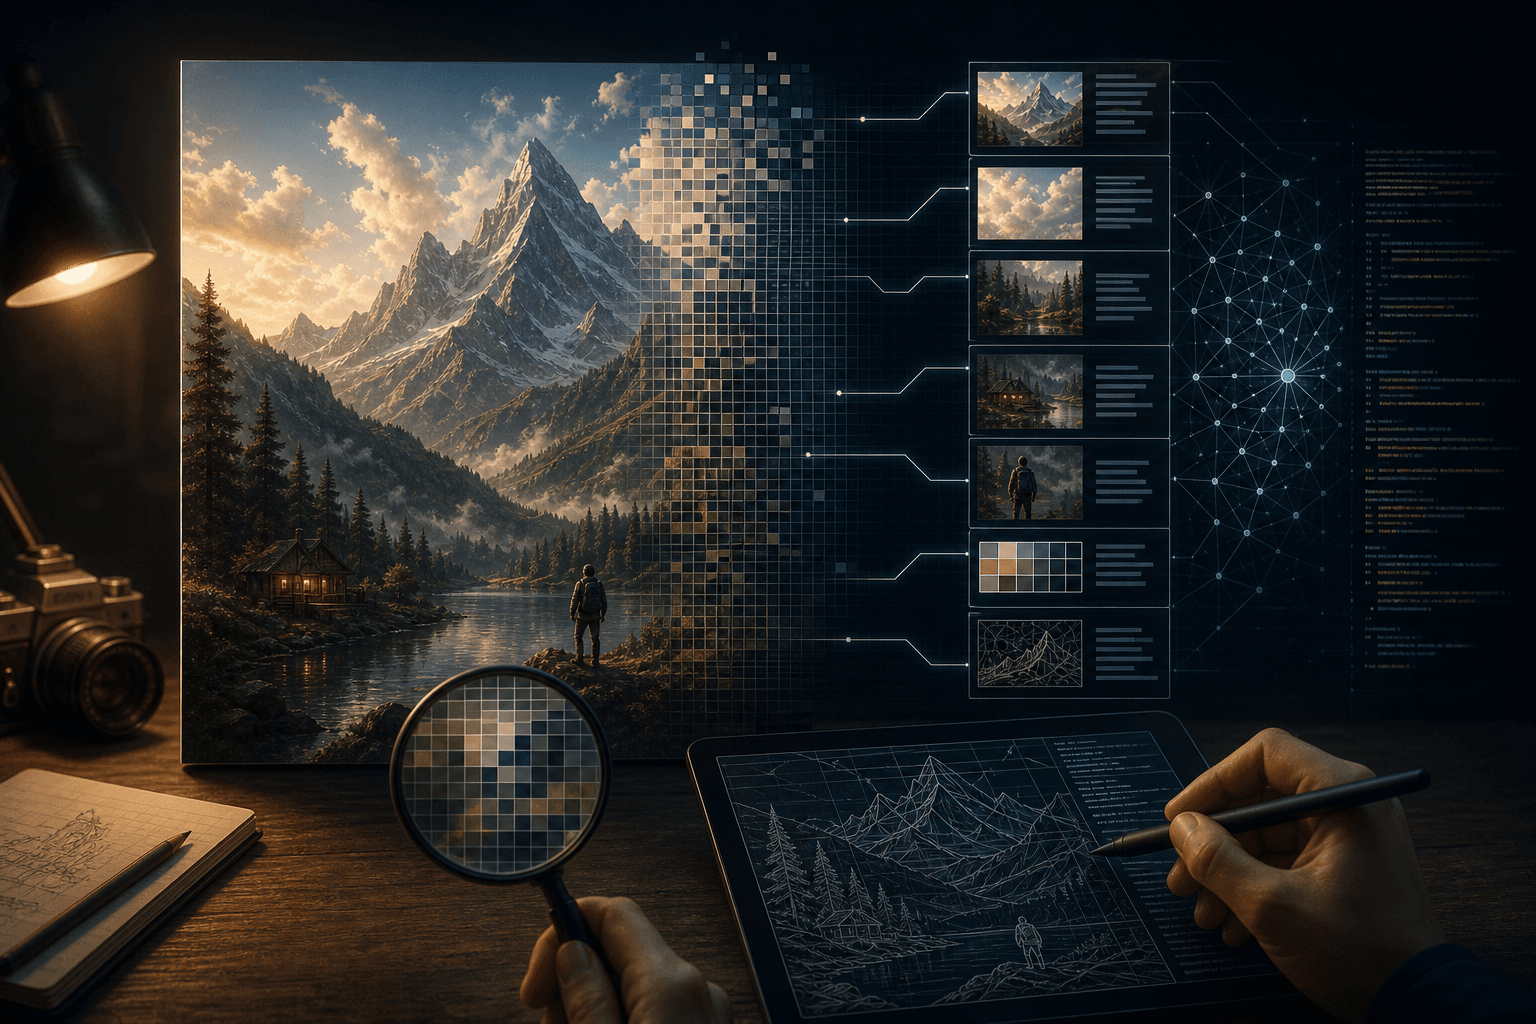

You can reverse engineer an AI image prompt in three defined steps: decompose the image into content, aesthetic, and parameter layers using a vision tool; generate a test batch immediately to measure the gap; then isolate and fix one variable at a time until you hit your target match threshold. This is the core reverse engineer AI image prompt workflow, and it works across Midjourney, Flux, and DALL-E.
A January 2026 survey of 1,200 AI image creators by AISnapshot found that 71% had tried to replicate a visual style they found online, but fewer than 30% were satisfied with their first-attempt results. The gap is not talent. It is method. Guessing by eye fails because vision models weight style terms differently from how humans naturally describe images. A structured workflow closes that gap faster than instinct alone.
What Does Reverse-Engineering an AI Image Actually Mean?
Reverse-engineering an AI image means extracting the probable subject, aesthetic, lighting, and technical parameters that produced it. The goal is not pixel-level copying. The goal is a working prompt that generates a visually equivalent output.
Most people skip the definition step and jump straight to guessing. That is why they fail. Vision models do not sort images the way human eyes do. You might see "moody blue lighting" and write exactly that. The model reads something closer to "cinematic teal grade, underexposed shadows, cool color temperature, f/1.4 shallow depth of field." The words feel related. The outputs diverge sharply.
Every AI image contains three extractable layers. The content layer is what is depicted: subject, setting, and action. The aesthetic layer is how it looks: lighting type, color grade, texture, and era reference. The parameter layer is the technical shell: model version, aspect ratio, quality flags, and style weights. Work all three layers. If you skip one, the match will always feel slightly off, and you will not know which variable to fix.
Which Tools Can Analyze an Image and Return a Prompt?
Three tools do most of the work in 2026, and each has a specific lane.
Midjourney /describe uploads an image and returns four ranked candidate prompts built from CLIP embedding matches against Midjourney's own training vocabulary. It is fast and free for subscribers, but it skews toward Midjourney's aesthetic defaults even when the source image came from another model.
GPT-4o vision (via ChatGPT or the API) accepts a template-based audit prompt and returns structured style breakdowns. The May 2026 vision update measurably improved structured style attribute extraction when given a template prompt versus an open-ended "describe this image" request. Use it when you need cross-model portability or detailed lighting analysis.
CLIP Interrogator on Hugging Face produces token-level output at no cost. It is best suited to Stable Diffusion workflows and LoRA dataset preparation, not Midjourney or Flux. Speed is slower, and the output format needs more cleanup before use.
For most builders, the practical stack is GPT-4o for layer decomposition and /describe as a vocabulary check. CLIP Interrogator earns a spot only if your target model is Stable Diffusion-based.
How Do You Use GPT-4o Vision to Break Down a Style?
Upload the image to GPT-4o and use a structured audit prompt rather than an open-ended question. A bare "describe this image" request returns prose. Prose needs another translation step before it becomes a usable prompt. A template skips that step.
A working audit template covers six fields: lighting type (natural, studio, practical, mixed), color palette (dominant hue, shadow temperature, highlight tint), lens simulation (focal length, depth of field, distortion), mood and era reference, surface texture and material quality, and post-processing style (film grain, clarity, vignette). Ask GPT-4o to return answers in prompt-ready phrases, not sentences.
Run a second pass after the first output. Ask specifically: "What would a Midjourney v7 user type to recreate this image?" That second call forces model-specific vocabulary, which saves a translation step later.
Generate a test image immediately after you have the first prompt draft. Do not refine the prompt before you see the gap. Looking at the actual output tells you which layer is furthest off. Fixing that one layer first is faster than editing blindly across all three at once. See Prompt Engineering Techniques That Actually Work in 2026 for template structures that apply here.
How Does Midjourney /describe Work and When Should You Use It?
The mechanics are straightforward. You upload an image to Midjourney via the /describe command. The model converts the image into a CLIP embedding and matches it against the vocabulary patterns found in prompts that produced similar images during training. The result is four candidate prompts ranked by embedding distance.
The strongest use case is images that were originally generated inside Midjourney. The vocabulary distribution aligns, so the candidates are accurate. When the source image came from DALL-E, Flux, or a photograph, /describe tends to translate it into Midjourney's default aesthetic rather than reading what is actually there.
There is also a version drift issue worth knowing. As of mid-2026, Midjourney v7 uses a denser semantic embedding space than v5 or v6. A /describe output from an image made on v5 needs vocabulary translation before it works reliably at v7. The same prompt phrasing produces different results across versions because the model weights shifted.
The practical fix: run all four /describe outputs side by side. Strip non-overlapping terms. Treat the words that appear across three or four of the outputs as your highest-signal style tokens. Those shared terms are what the model consistently reads. The unique terms in each output are lower-confidence guesses.
How Do You Refine a Reverse-Engineered Prompt Until It Matches?
This is where most people loop indefinitely. The structured diff method bounds the loop.
Start by generating four variants from your initial prompt. Rank them by visual proximity to the target. Do not edit anything yet. Identify the single variable that explains the biggest gap between the closest variant and the target. That one variable is your first fix.
Work the isolation sequence in this order: lighting terms first, then color grading, then subject pose, then aspect ratio. Never change two variables in the same generation. If you change two things and the output improves, you will not know which change did the work, and you will repeat the problem on the next gap.
Run a negative prompt pass after the second generation round. Note what keeps appearing in the output that you did not ask for. Add those elements to a negative list before you continue. This clears visual noise faster than adding more positive terms.
Define a stop condition before you start. Something like "80% style fidelity by my own direct comparison" is enough. Commit to stopping there. Without a stop condition, every output reveals a new small gap, and the session never ends. The process is finite. Treat it as finite.
What Are the Most Common Mistakes That Break Style Matching?
The most consistent mistake is over-describing the subject and under-describing the aesthetic. Builders spend 80% of their prompt words on what is depicted and 20% on how it looks. For visual style matching, that ratio should flip. Models weight style and lighting terms more heavily than subject description when producing aesthetic output. Spend more words on light than on the person standing in it.
The second mistake is copying prompts verbatim across models. Midjourney style terms do not transfer reliably to Flux 1.1 Pro Ultra without adaptation. Black Forest Labs' model uses a different natural-language prompt parser, so cross-model style transfer now requires an explicit vocabulary translation step. Skipping it produces results that share a mood but miss the texture and tone. This applies to DALL-E 4 as well.
The third mistake is ignoring model version drift. An image made with Midjourney v5 will not reproduce accurately at v7 with the same prompt. The vocabulary weighting shifted across versions.
The fourth mistake is relying on diluted terms. Words like "cinematic" and "epic" have become statistically flat in newer model checkpoints. They once carried precise meaning. Now they are too common in training data to point the model anywhere specific. How AI Image Models Interpret Prompts covers why specific vocabulary outperforms generic mood words at every stage of prompt refinement.
How Do You Build a Reusable Style Library From Reverse-Engineered Prompts?
The work compounds only if you store it correctly. Each session that ends without a saved prompt is a session you will repeat.
Tag each saved prompt with four things: model version, aesthetic category, a thumbnail of the source image, and a last-validated date. The last-validated date matters more than most builders expect. Model updates shift vocabulary weighting, and a working prompt can silently drift over a few months. A quarterly validation check catches this before you use a stale prompt on a real project.
Store style suffixes separately from content prefixes. The aesthetic and parameter layer (lighting, color grade, aspect ratio, quality flags) is reusable across many subjects. The content layer (subject, setting, action) is specific to each job. If you store them as one combined prompt, you have to rebuild from scratch every time the subject changes. Separated, you snap a new subject onto a tested aesthetic layer in seconds.
A simple Notion or Airtable database with four fields, thumbnail, prompt text, model version, and last-validated date, is enough to start. This builds a private prompt vocabulary that gets faster to use over time. It also surfaces vocabulary drift when you run validation checks and find that a previously reliable term now needs a replacement word.
For how to build a similar compounding knowledge system around brand voice and AI output, see How to Train Claude to Match Your Brand Voice and the broader tool stack breakdown in 21 Best Generative AI Tools in 2026 Ranked by Use Case.
The builders who close the style gap fastest are the ones who stop adjusting the subject and start reading the lighting. Reverse-engineering an AI image prompt is a finite, learnable process. Decompose the layers, generate a test batch, isolate one variable, hit your stop condition, and file the result. The next time you need to match a style, you will start from a library entry, not from zero.
If you want to go deeper on model selection and how prompt parsing differs across the major 2026 models, State of LLMs June 2026: What Actually Changed covers the vocabulary and architecture shifts that directly affect cross-model style transfer work.
FAQ
Can I use ChatGPT to get a prompt from an AI image?
Yes. Upload the image to ChatGPT (GPT-4o) and ask it to describe the image in prompt-ready language rather than prose. For best results, use a structured audit template that asks separately about lighting type, color palette, lens simulation, subject treatment, and mood era. Then add a follow-up: 'Rewrite this as a Midjourney v7 prompt' or whichever model you are targeting. The raw description GPT-4o gives by default is usually accurate but too verbose. That second pass translates it into a tighter, generation-ready format. Expect one or two refinement rounds after your first test generation before the result is close enough to be useful.
What does Midjourney /describe actually do?
The /describe command takes an uploaded image and returns four candidate text prompts that Midjourney estimates could have produced it. It uses CLIP-based image embeddings matched against vocabulary patterns from Midjourney's training data. It works best on images originally generated inside Midjourney, because the vocabulary distribution aligns. It is less reliable on photographic images, DALL-E outputs, or Flux-generated content, where its predictions tend to drift toward Midjourney's own aesthetic defaults rather than accurately describing what is in the image. A practical workaround: use all four outputs together and extract the overlapping terms, which represent the highest-signal style words.
Does reverse-engineering an AI image prompt work across different models?
Partially, and vocabulary translation is the step most people skip. A prompt that recreates a style in Midjourney will not produce the same result in DALL-E or Flux without adaptation, because each model weights terms differently. The process that transfers across models is the structured three-layer decomposition (content, aesthetic, parameters), not the specific words. Once you have the layers from GPT-4o vision, re-render each layer into the target model's vocabulary. For Flux, this means replacing Midjourney shorthand like '--style raw' with natural-language equivalents. It adds one step but makes cross-model transfer reliable rather than hit-or-miss.
How many tries does it take to match an AI image style?
With the structured diff method — decompose, test, isolate one variable, refine — most practitioners reach a satisfying match in three to six generations, compared to twenty or thirty with free-form guessing. The key is defining a stop condition before you start. Decide in advance what 'close enough' looks like, for example 80% style fidelity by your own eye test, and stop there. Exact pixel reproduction is not the goal and is not achievable because generative models are probabilistic. Functional style replication you can apply to new compositions is the practical target.
What is the best free tool for extracting a prompt from an AI image?
CLIP Interrogator on Hugging Face Spaces is the strongest free option. It outputs CLIP tokens and Danbooru-style tags describing content and style at a granular level and is especially effective for illustration, anime, and Stable Diffusion workflows. For photographic and cinematic styles, GPT-4o's free tier (subject to its daily image limits) often produces more readable and actionable output because it generates natural-language descriptions you can immediately edit into a prompt. Midjourney's /describe requires an active subscription but is the most direct path if you are already generating inside the platform.
Can I reverse-engineer a real photograph the same way as an AI image?
Yes, and it is often easier because real photographs have well-documented technical vocabulary — lens focal length, aperture style, studio lighting setup, film stock era — that vision models recognize reliably. The workflow is identical: decompose into content, aesthetic, and parameter layers using GPT-4o or CLIP Interrogator, then translate the output into your target model's prompt vocabulary. The main difference is that real photographs reference physical constraints that AI models approximate. Translating 'shot on Hasselblad 501C with Ektar 100 film' into 'medium format film photography, warm grain, Ektar color palette' is a one-time vocabulary-mapping exercise that pays off across many future prompts.
How do I save reverse-engineered prompts so I can reuse them later?
Build a tagged prompt library in Notion, Airtable, or a spreadsheet with four fields: a thumbnail of the source image, the final working prompt text, the model and version it was tested on, and a last-validated date. Store style suffixes (aesthetic and parameter layer) separately from content prefixes (subject layer) so you can combine them in new compositions without rebuilding from scratch. Validate stored prompts quarterly. Model updates shift how vocabulary is weighted, and a prompt that produced a precise result in Midjourney v6 may need minor rewording in v7 to produce the same output.